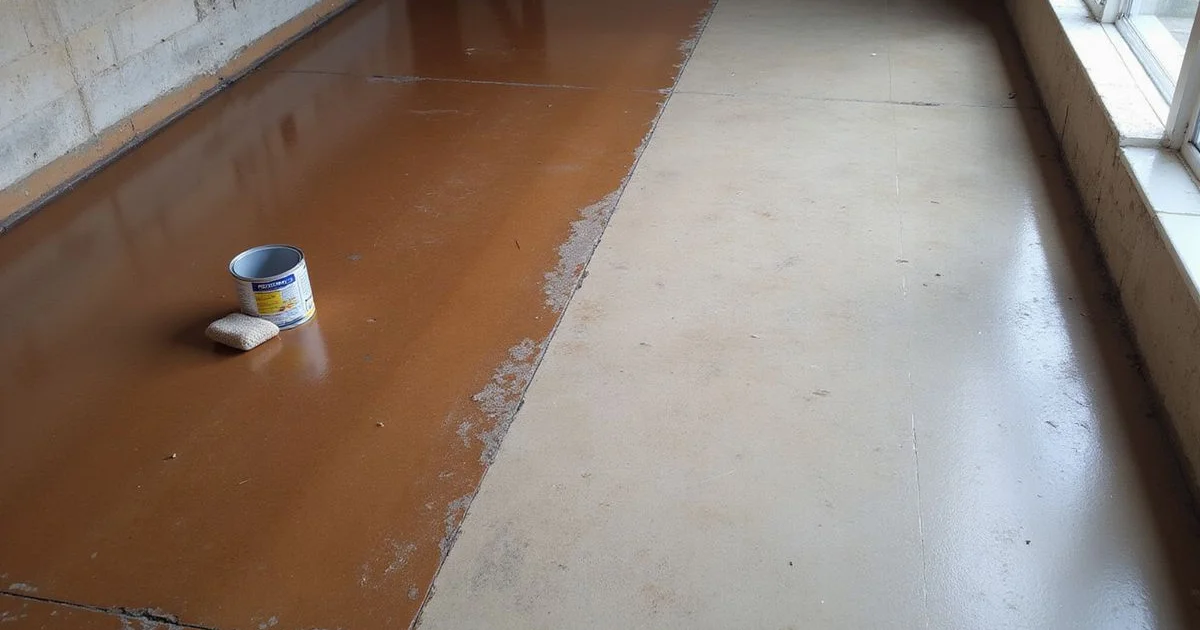
Two Very Different Jobs
Both start with a floor that no longer looks right. They diverge immediately in scope, cost, and duration, and choosing correctly saves either money or disappointment.
A reseal treats a floor whose colour is sound and whose sealer has worn. A restoration treats a floor whose finish has failed. Working out which one you have is the job of the diagnosis stage described under floor restoration, and the signals to look for are set out in reading a worn floor.
Scope, Side by Side
| Reseal | Full restoration | |
|---|---|---|
| Existing sealer | Abraded or partly stripped | Fully removed |
| Surface work | Clean and minor repair | Grinding, repair, surface correction |
| Colour work | None | Touch-up or full re-colour |
| Moisture investigation | If symptoms suggest it | Standard |
| Duration | Short, often one to two days | Several days, sometimes longer |
| Relative cost | Lower | Substantially higher |
| Right when | Colour intact, sealer worn | Colour or surface failed |
What a Reseal Involves
The floor is cleaned thoroughly, then the existing sealer is abraded or lightly stripped so a new coat will bond. Minor repairs are made. Fresh sealer is applied in coats, with drying between them, and the floor cures before full use returns.
The key requirement is compatibility. A new product has to bond with or properly replace what is already there, and establishing what is on the floor takes a test area rather than an assumption. This is where DIY resealing most often goes wrong: a new sealer applied over an incompatible old one can cloud, lift, or refuse to adhere.
What a Restoration Involves
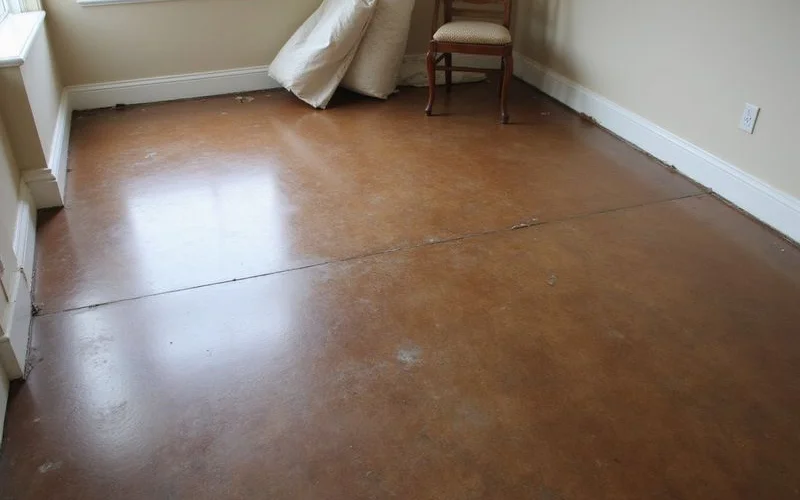
Everything on the surface comes off. That usually means mechanical grinding, since a failing coating rarely strips cleanly and chemical stripping alone often leaves residue that compromises whatever goes on next.
With the floor bare, the surface is assessed and corrected: repairs, crack treatment, and addressing whatever caused the original failure. If moisture is implicated, that is resolved or accommodated here rather than later.
Then colour work. Depending on the floor, that ranges from blending worn traffic paths into the surrounding colour to re-colouring the whole area. Blending is harder than it sounds, because a partially worn reactive stain does not accept new colour the way bare concrete does.
Finally the sealer system is reinstated, in coats, with the cure period before use.
Why we diagnose first
Quoting a reseal on a floor that needs restoration produces an unhappy customer in six months. Quoting a restoration on a floor that only needed a reseal takes money that did not need spending. Neither is acceptable, and the only way to avoid both is to look properly first.
The Cost Comparison Over Time
A reseal done at the right moment is the cheapest possible intervention, and doing it on schedule is what prevents restorations.
A floor left until the colour is worn through costs several times more to put right, because the work now includes stripping, surface correction, and colour restoration on top of the sealing that would have sufficed earlier.
This is the practical argument for watching the signals rather than waiting for the floor to look obviously bad. By the time it looks obviously bad, the cheaper option has usually expired.
What We Recommend and Why
We quote what the evidence supports. If your floor needs a reseal, that is what you will be quoted, even though restoration is the larger job.
Where restoration is genuinely required, we will show you why: the test area, the failure pattern, and where the colour has gone. And where the underlying cause is moisture or slab movement rather than wear, we will say that too, because reinstating a finish over an unresolved cause is work that will need doing again.